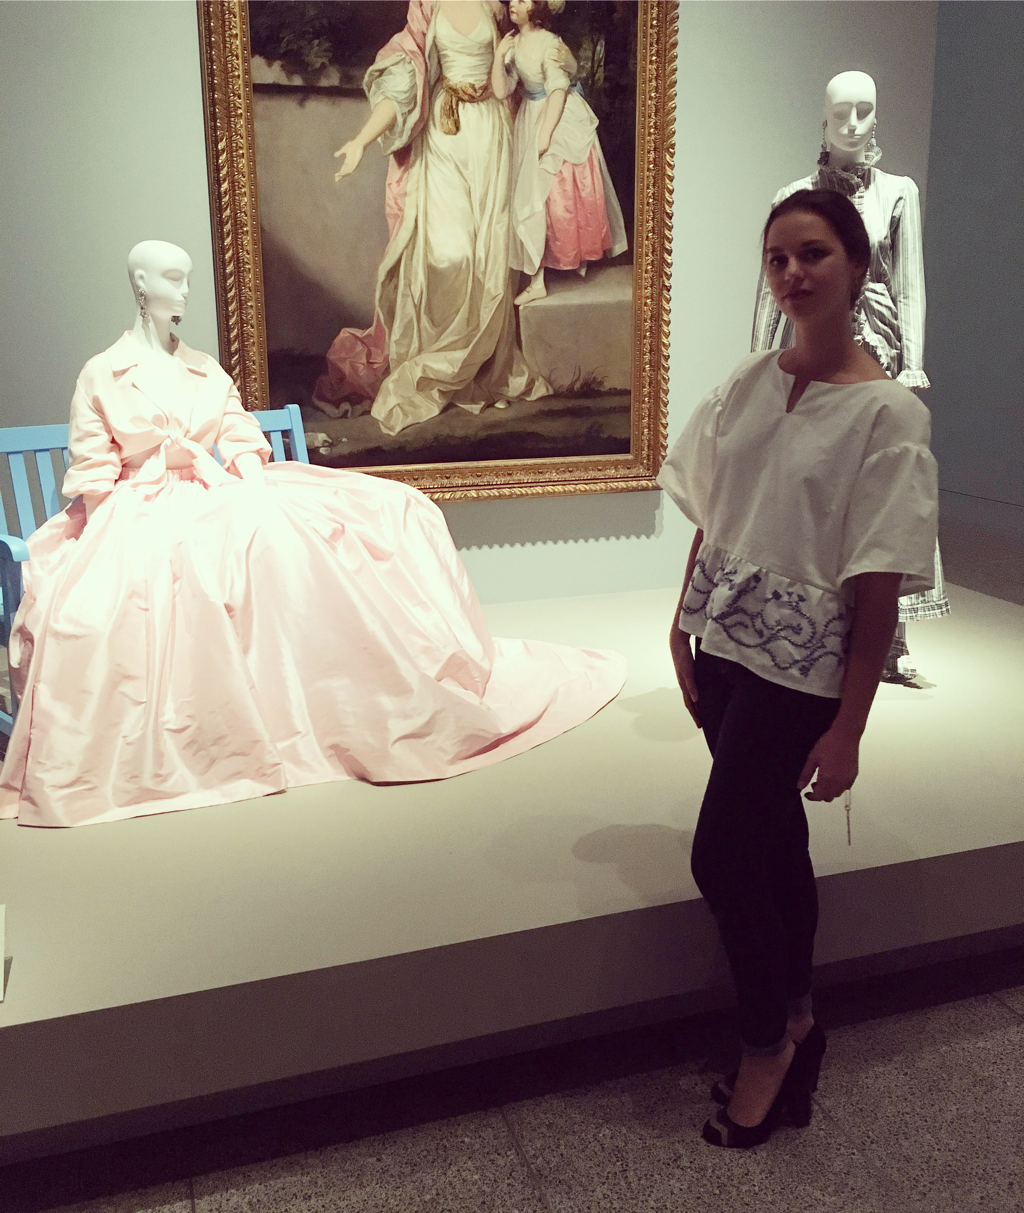
 Home means different things to different people. Home is a place. Home is being with your people. Home is your best memories from growing up. Home is love. It's one of the first things you're asked when you meet someone. "Where are you from?" However, what they really mean is, "Are you from the same kind of people that I'm from?" or "Do I know something about you because I know something about myself?" This poses a question that I've never exactly known how to answer. Where am I from? I've lived in California, Texas, and now Wisconsin. Technically speaking, I've been living in Madison for a little over 4 years and haven't continuously stayed in Texas for more than 4 weeks since 2013. So I typically answer, "I've been living in Madison for several years but I used to live in Texas." Which warrants the response, "Why did you come here?" Then I go on with my memorized song and dance about school and how my family is originally from the Midwest, which usually makes people feel better about not knowing where I'm from. I'm from two places and call two places home. Once you get past the constant explaining, one of my favorite things about being from two places is that when I travel I have two great cities to choose from for fun things to do. This past week while visiting my family for Thanksgiving, I visited The Glamour and Romance of Oscar de la Renta exhibit at the Houston Museum of Fine Arts. The intricate embroidery and miles and miles of skirt made my gangly self feel transported to a world of elegance. Oscar de la Renta has been my favorite designer since I was a lanky, awkward teenager living in Texas. The intricate embroidery and the beautiful fabrics with miles and miles of skirt captivated me from a young age, in which my gangly self felt as if I could belong in a world of elegance. I remember when Target and Neiman Marcus collaborated in 2012-2013 I purchased this beautiful white floral Oscar de la Renta tote. As a 17-year-old, it was one of my prized possessions. Even though I didn't have a prayer of owning a true piece, when I held that bag in hand I went from young girl to glamorous woman ready to conquer the world. 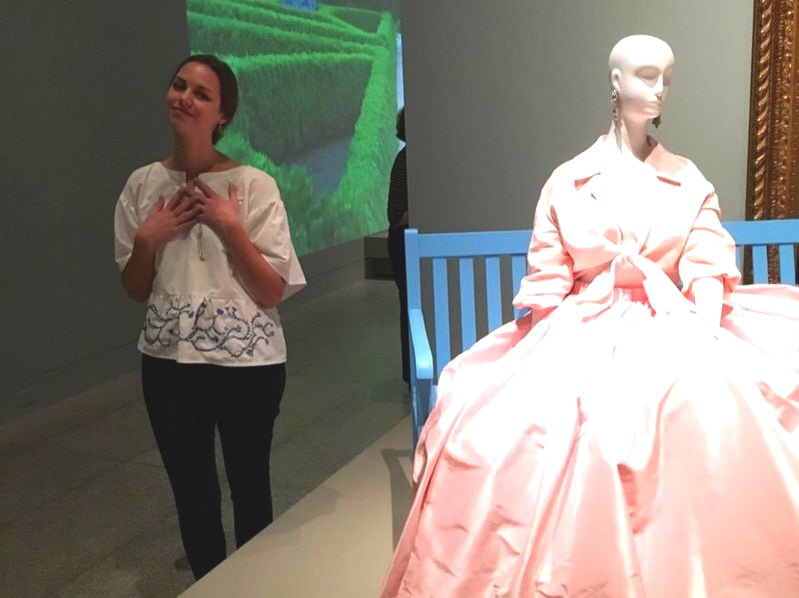 As I walked through the exhibit with the key chain from that very bag, I remembered how much I've changed since my Texas days. I have friends and family that I love dearly and I'm in the early stages of my career. I'm a little worse for wear from life, but still consider myself happy. I feel like the life I'm building is one that my 17-year-old self would be proud of.
0 Comments
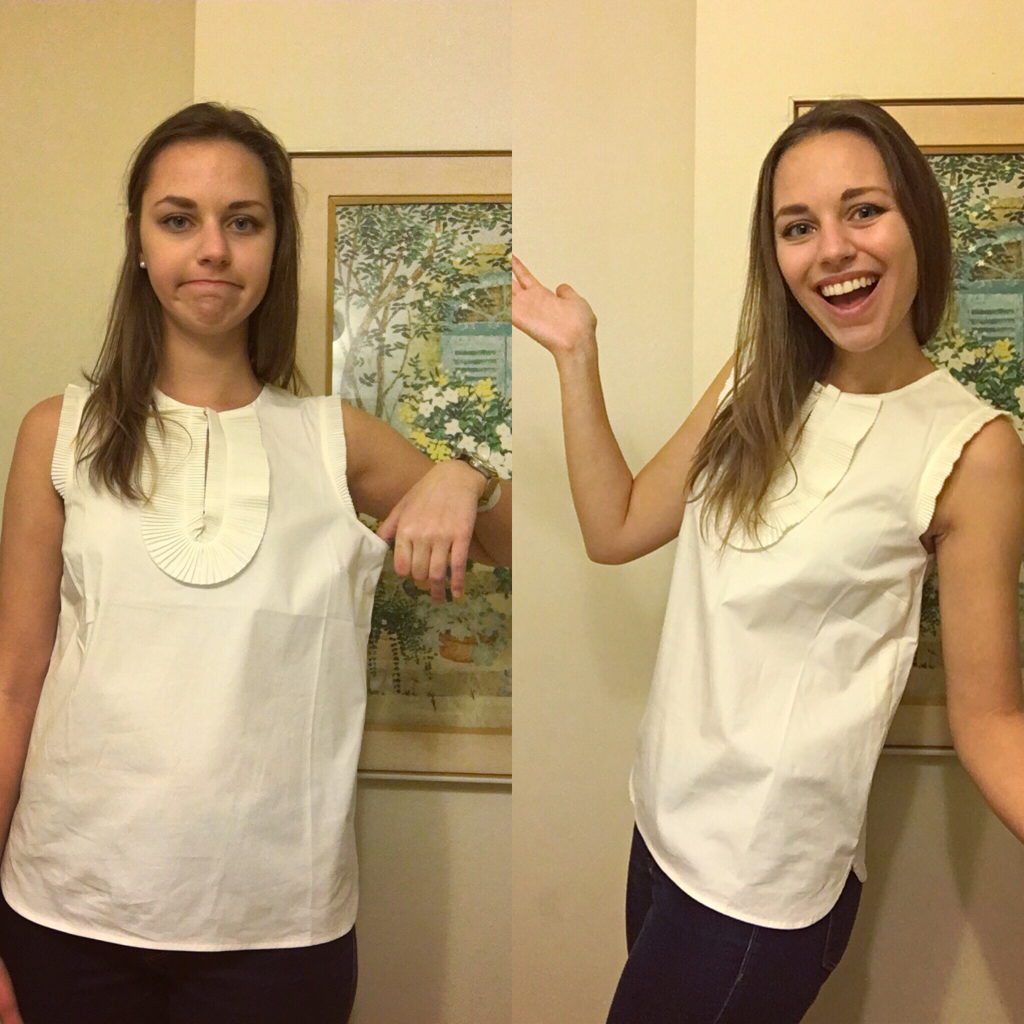
The struggle of finding well fitting clothes is something anyone can relate to. People come in all shapes and sizes which makes finding that perfect fit a contemporary Holy Grail. As a young professional, I'm constantly looking for wardrobe staples to wear at the office, but finding a blouse that's tasteful, versatile, AND actually fits feels impossible! I'm taller than average so most tops either are long enough in the torso OR fit in the bust. Dont even get me started on shopping for pants!
I fell in love with this top on clearance online, read the reviews extensively, read the measurements, and eventually decided on a size 6. Despite the leg work, when it came in the mail it was still about a half size too big. With this quick and easy tutorial, you'll learn how to alter that top you love, but isn't quite your size. Start to finish this project only took me 20 minutes! 
Step 1: Depending on how much excess fabric you have or how you want the garment to fit, think about what kind of alterations you want to make. If your top is too big in the bust, try adding darts with a great tutorial here. If the entire chest is too big, take in the side seams like I'm doing here.
Step 2: Put on your top inside out and measure out how much you want to take in. I took in one inch on each side. 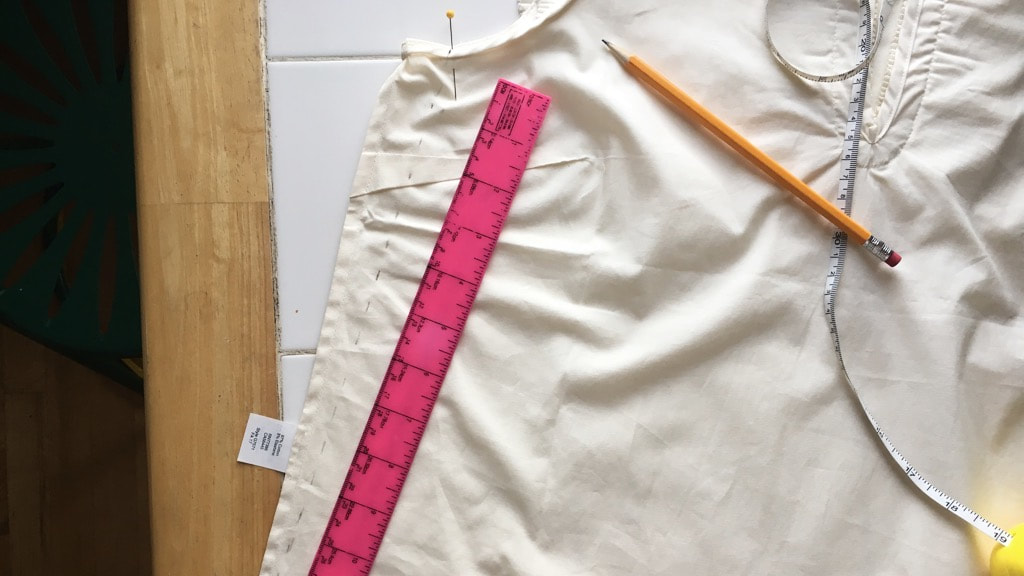
Step 3: Lay your top inside out on a flat surface and with a ruler, trace out how much you want to take in. I liked the way the top fit at the hips so I traced my seam so that it tapers out towards the bottom. If you want a more fitted look, keep your line parallel to the original seam.
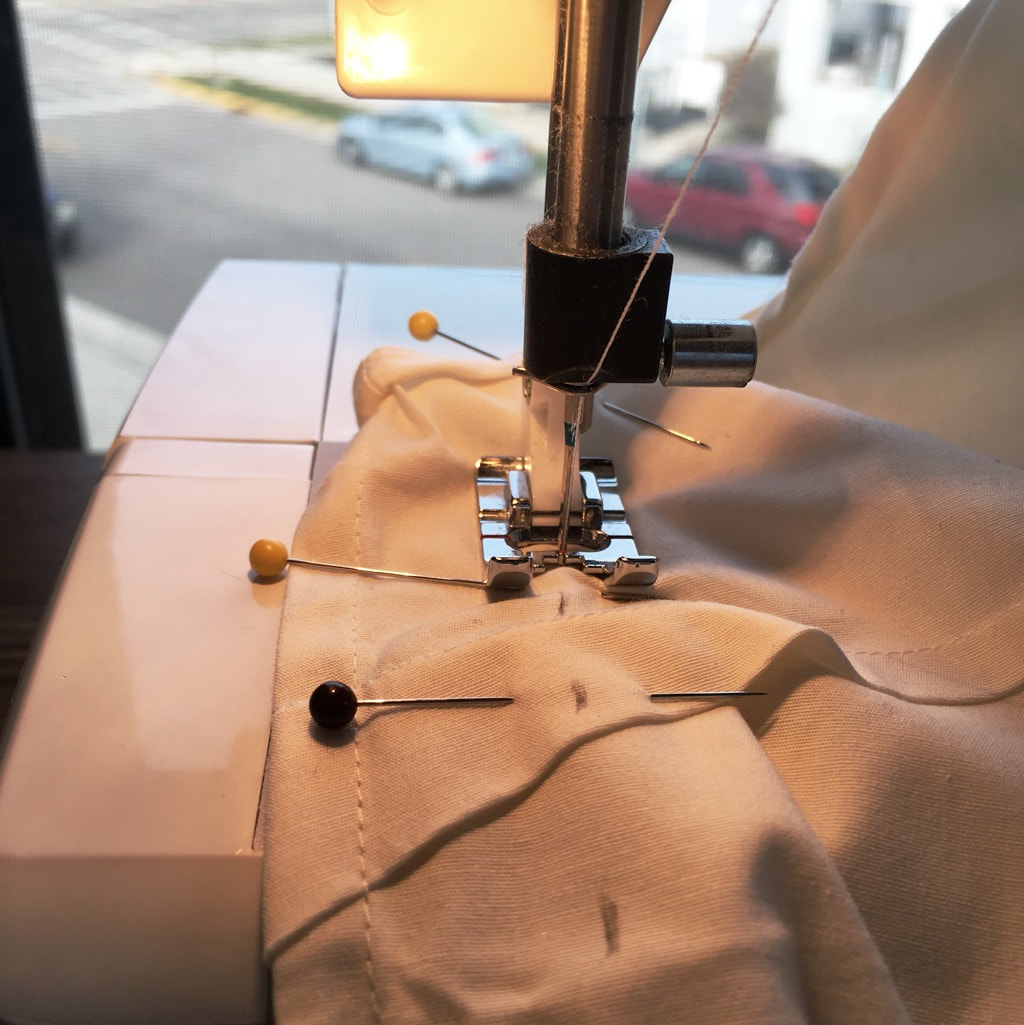
Step 4: Sew straight down your line. Remember to backstitch at the arm wholes and bottom seam and make sure the size of your new stitch a similar to the original ones.
Step 5 (optional): If you're taking in your top by more than 1.5" you might want to trip the excess fabric. To keep the raw edges from fraying, add a zig zag stitch to keep the fabric from fraying during wash and wear. Then trim the excess, et voila! You're done! 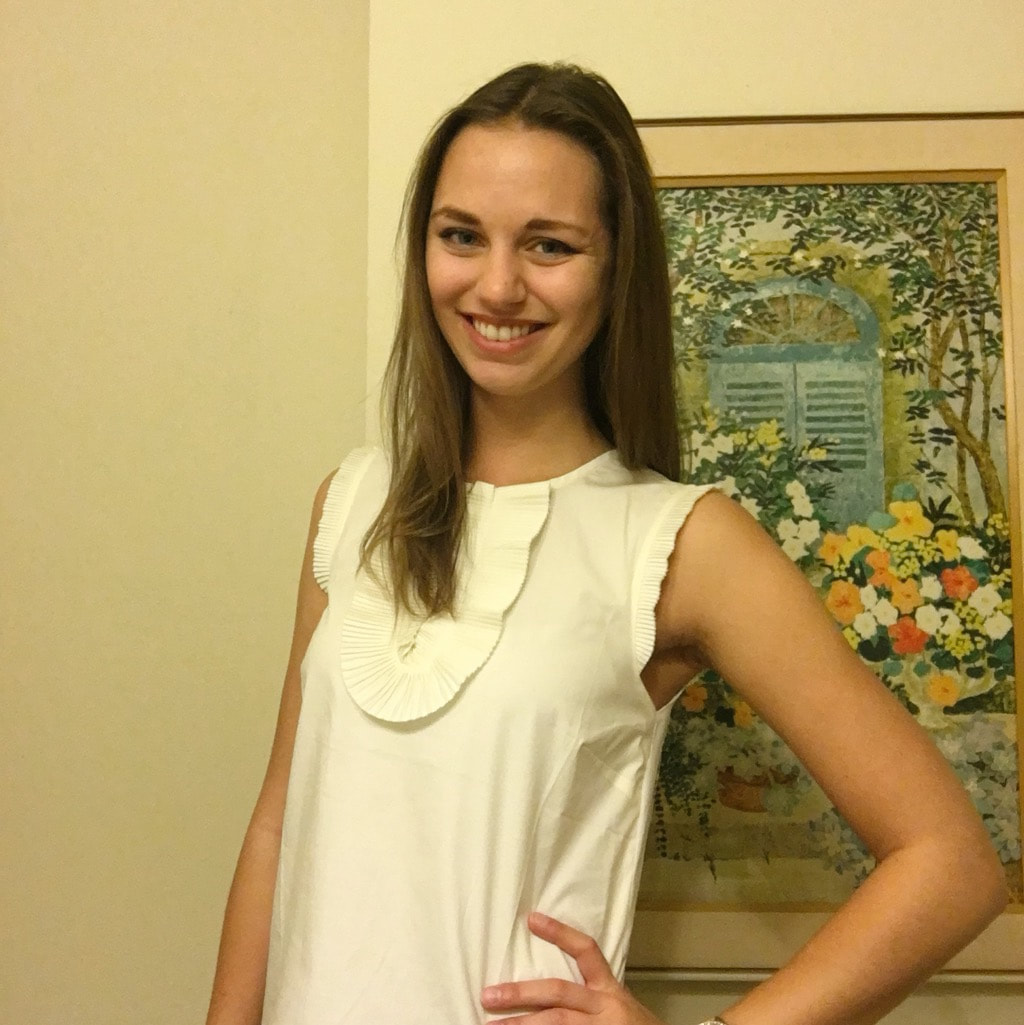
I think what I enjoy the most about getting back into sewing is thinking about how clothes work. Until you start cutting the fabric you don't think about how your armpit holes fit, you just expect it to work. My new mantra is when in doubt cut extra. You can usually trim it later. One of the great things about making your own clothes is that you pick how it's going to fit. If you want more structured stiff ruffles, cut them shorter and pull the basting stitch a bit more. If you want an empire waist, cut your bottom ruffle a little longer. Want a more fitted look, add some breast darts or cut your fabric a little smaller. The possibilities are endless! Trace out a blouse or dress that you like the fit of on your fabric. Remember to cut an extra .5-1" around your outline for seam allowances. Once you've cut out the pieces sew together the shoulder tops (right sides facing of course) and the tops of the collar liners. Next sew the collar liner onto the neck line. Turning the sleeve and waist ruffles from boring rectangles to trendy ruffles is actually pretty simple. Set the your sewing machine to the largest setting and run a basting stitch along the top. Pull one of the threads and let the ruffling begin. Just make sure you don't brake the thread or pull it all the way out.  Next, sew the arm ruffles onto the arm holes. Then close the arm ruffle and go down the side seam. For a really handy visual of how to put this top together, check out the Merrick's Art tutorial. There are other ways to assemble a blouse, but this version was way easier than what I initially envisioned in my head and is way easier. Once the main part of the shirt is assembled, it's time to add the big ruffle on the bottom, add a button hole to the notch, et voila! I decked out my ruffle with some custom embroidery or you can leave it plain. 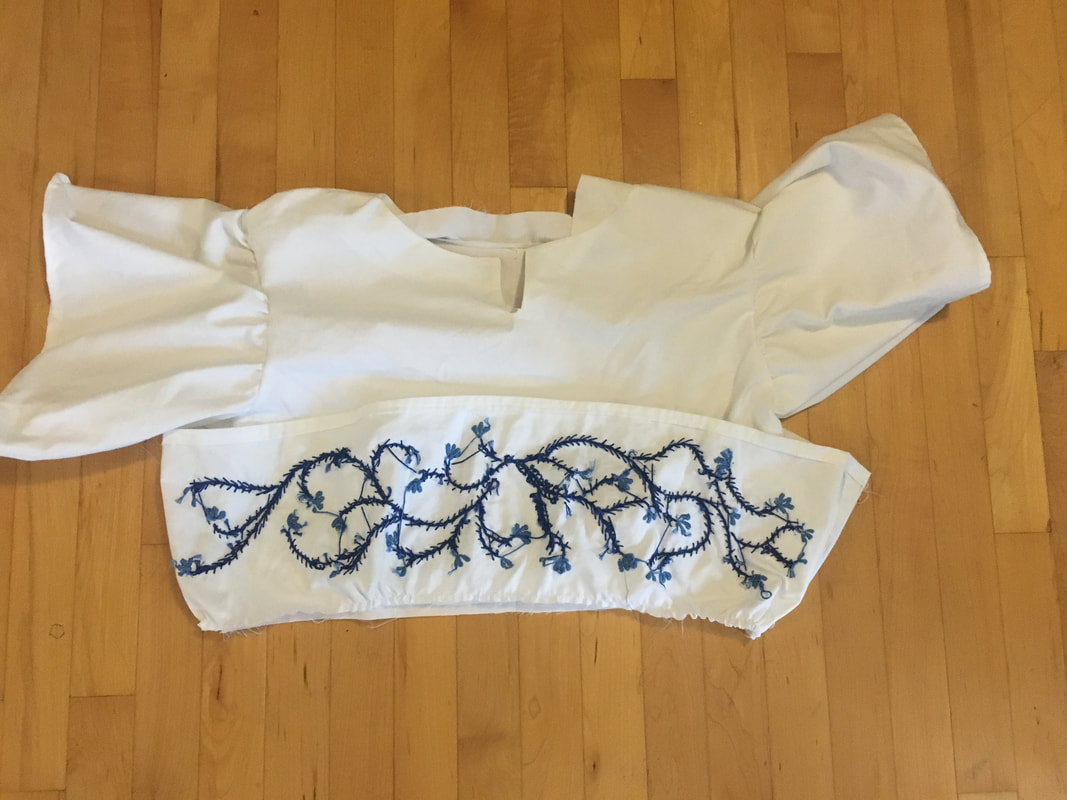 |
AuthorEmma Neale: (young) adult, cat mom, and aspiring for adventure. Archives
February 2019
Categories
|


 RSS Feed
