
You know when you have envision the perfect outfit? Whether it's for a particular event or all seasonal long, when you have that perfect skirt in your head it's hard to substitute another piece when it's just not quite right. Most of the time I find myself caught between two fashion choices. One, I can find something in the same ballpark as what I'm looking for but it usually doesn't fit me very well, I hate the fabric, or it's so poorly made that it's only good for one wear. Option two, I find something I love but it is way way way outside my budget.
One of the things I love about sewing is that I'm able to take the outfit that's in my head and bring it to life for a fraction of the cost that I would pay in a store. Step 1: Cut the Pieces
Start by tracing out a skirt you like onto your fabric. If you're using fabric with a little stretch to it, remember to keep the direction of the stretch horizontal. That way you'll have a little more give in the fabric in the hips, which will give you a better fit. When cutting remember to leave 1/2" seam allowance around the skirt you're using as a template.
Start by cutting 1 piece that's the shape of a regular skirt. This will become the back. For the front 2 pieces, use the back piece as a template, but draw a long diagonal curve from the top corner to the opposite bottom corner. Make sure the separate the layers of your folded fabric. You want the 2 front pieces to be reflections of each other, not duplicates. Once your pieces are cut out, sew up the sides of the skirt with 1/2" seams. 
Step 2: Add Darts to the Back
One of the tricky parts about making any kind of clothing is taking a two-dimensional piece of fabric and getting it to fit a three-dimensional human. Adding darts to clothing allows the fabric to fit perfectly around your curves to give clothes that classic well-fitting look.
To make the darts I pinched 1" of fabric in 2 spots on the back piece of the skirt. Remember to measure so that they're equal in distance from the center. Then with a pin mark how far down you want the dart to go down the skirt (mine went down about 2 1/2"). Depending on your waist to hips ratio, you can make the dart deeper or longer to suit how you want your skirt to fit. 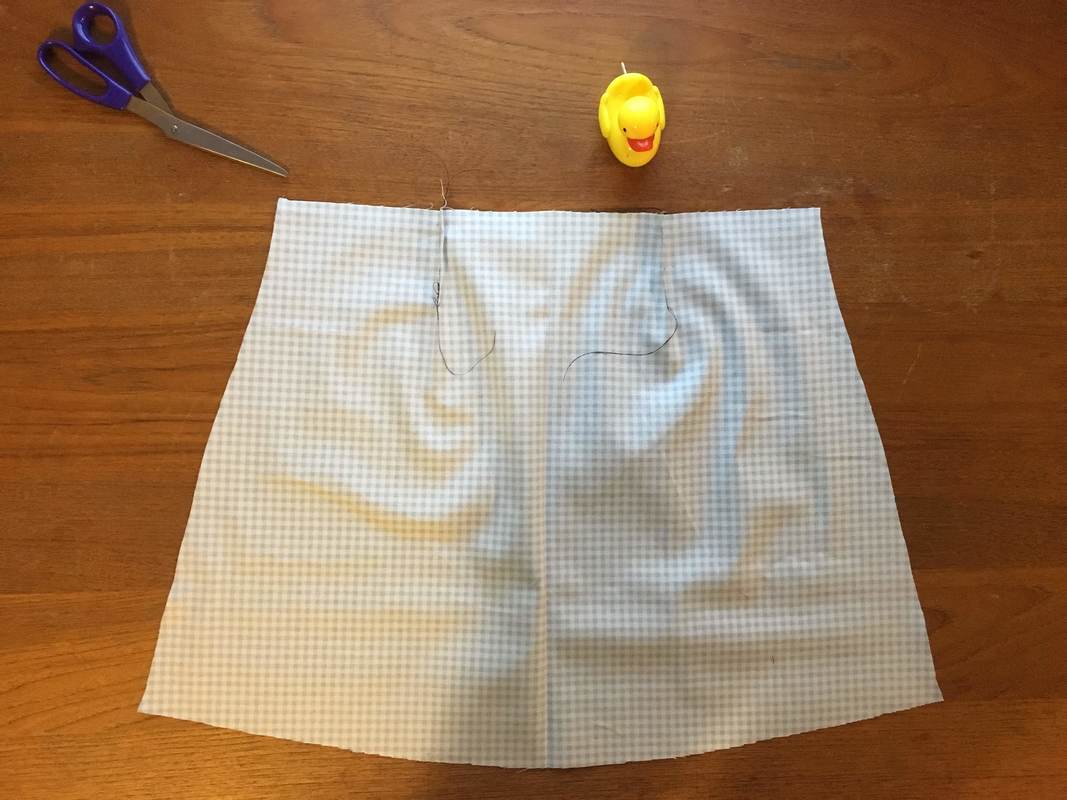
Step 3: Make the Ruffle
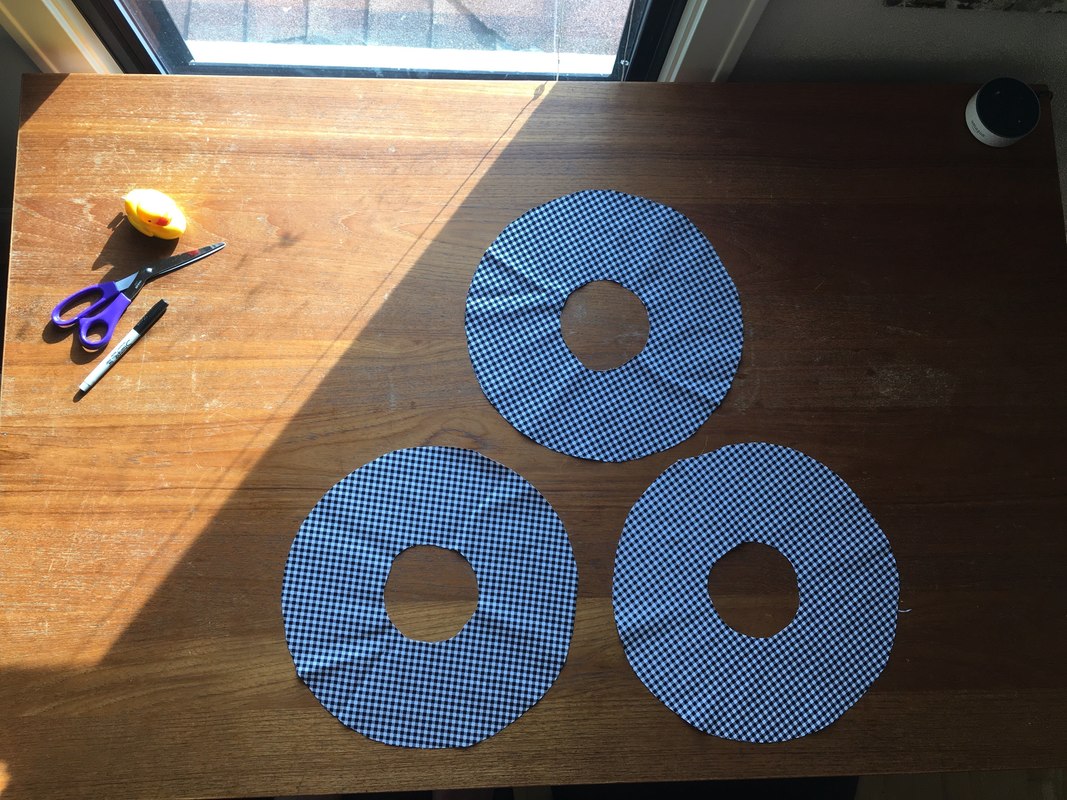
To make the ruffle, cut out 5-6 circles. The dimensions I used were 13 1/4" for the diameter of the outer circle and xxx” for the diameter of the inner circle. Once your circles are cut, cut a single line connecting the two circles. Repeat this cut for each of the circle ruffles. This will be the seam that connects all of the circles in to one really long spiral. Don't forget to hem the ruffle after you've connected all the circles. You can use a rolled hem if you'd like so that the raw edge is tucked into the hem. I wanted to save the length of my ruffle I faked a serge stitch with a zig zag stitch all the way around the long chain of connected circles. Then I folded over the edge of the fabric to make a 1/4" hem.
Step 4: Attach the Ruffle
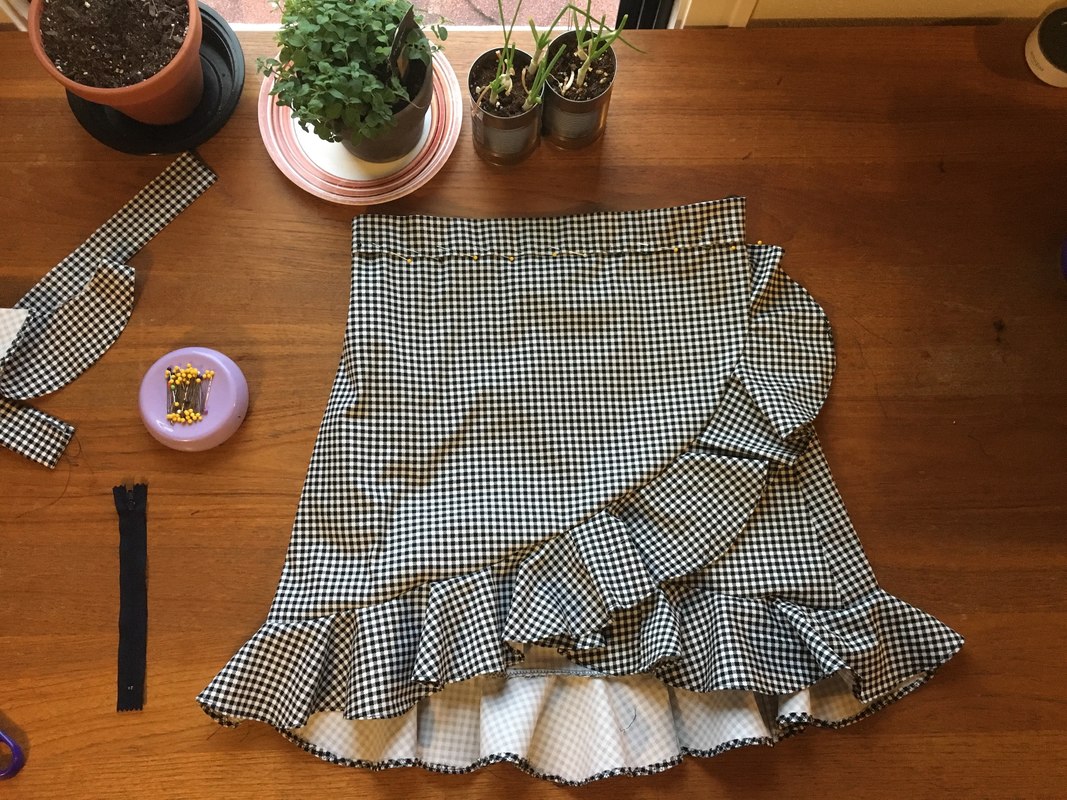
Now's the fun part where the skirt starts to come together. Spread out your spiral chain of connected circles so that it becomes the long ruffle. Pin the inner circumference all the way along the bottom edge of the skirt and sew with a straight seam. Repeat along that same edge with a zig zag stitch to keep the ends from fraying. Once the ruffle is connected, cut the edge of the ruffle so that it tapers at the top near the hip of the top layer of the front of the skirt. On the bottom layer of the front of the skirt, trim the ruffle as needed so the skirt lays flat and comfortably on your hip.

Step 5: Finish with Waistband and zipper
To add the zipper, here is a link to my favorite zipper tutorial. You can place it on the back like I did, or place it on the side of the skirt.
0 Comments
|
AuthorEmma Neale: (young) adult, cat mom, and aspiring for adventure. Archives
February 2019
Categories
|

 RSS Feed
